9 April 2020
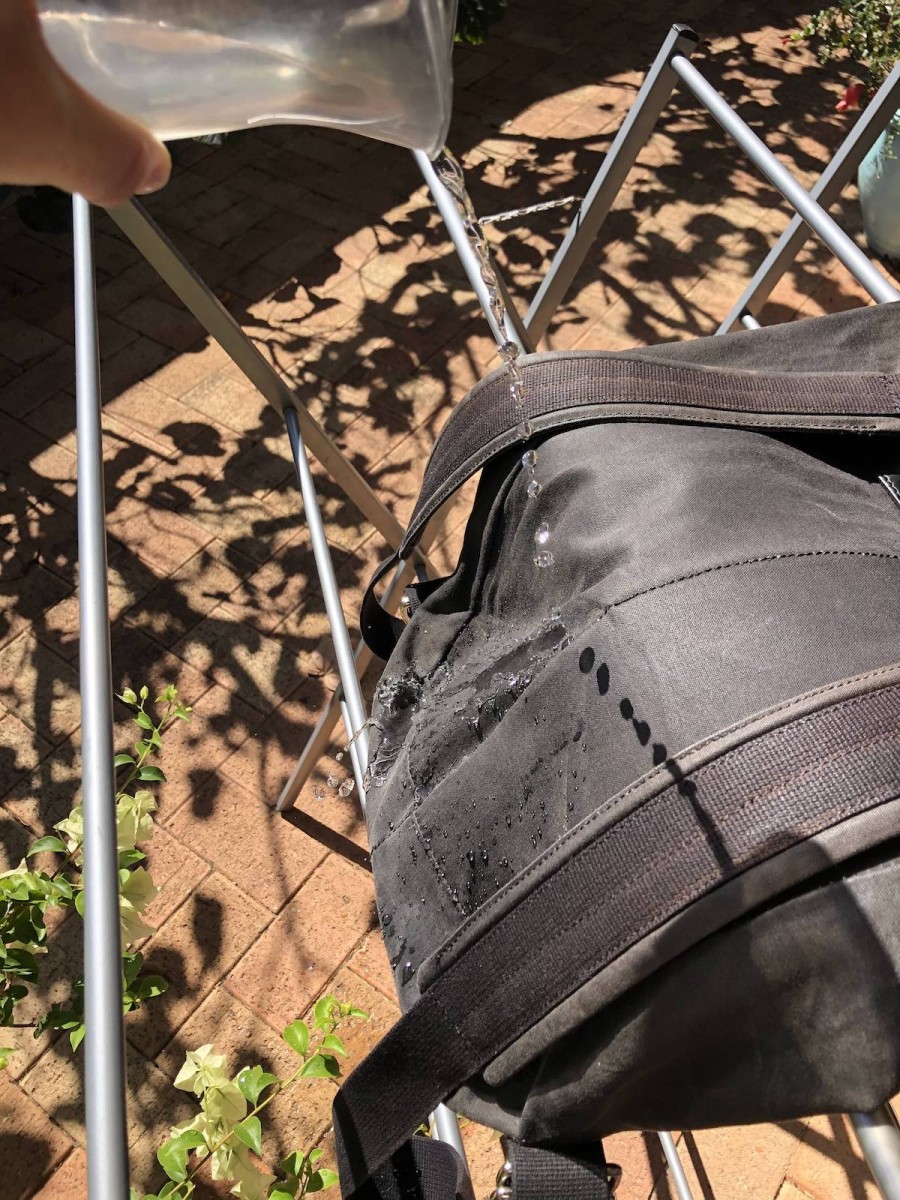
Re-waxing your canvas gear is a good to not only keep the fabric waterproof but continue to develop the well-earned patina that will inevitably be creeping in on your beloved piece of gear. Waxing canvas fills the tiny holes in the canvas creating a waterproof membrane - a discovery we can thank sailors for. The wax will also keep dirt, dust and debris from your pack.
Just a few things before we get started. First, this method is for re-waxing, as opposed to applying wax to cotton canvas for the first time. For that process, I would go to YouTube, and set aside half a day as it's a lengthy process.
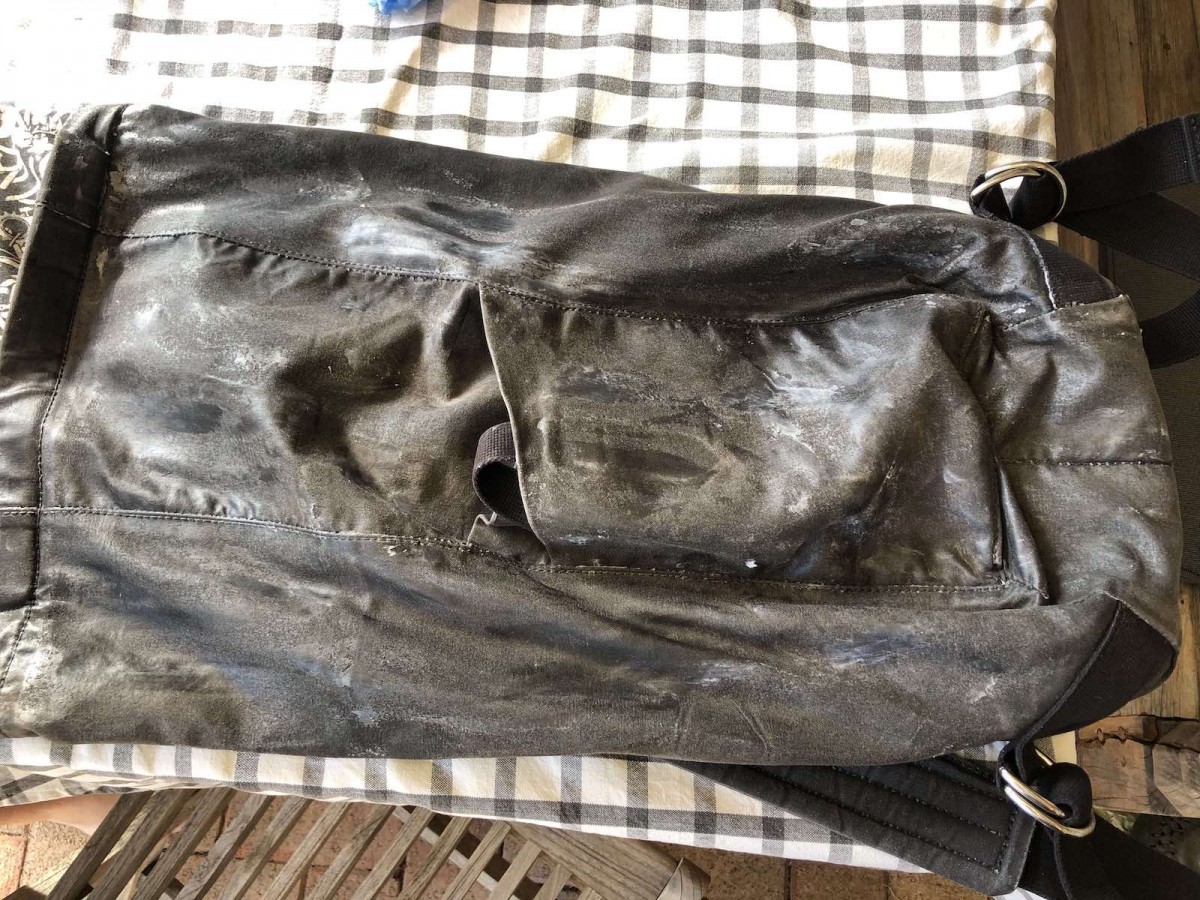
For this example, I am using my commuting backpack, which is one of only two canvas pieces I own. This method can apply to any piece of gear you have however, just as long as it is made of canvas and you understand that this process reduces the breathability substantially.
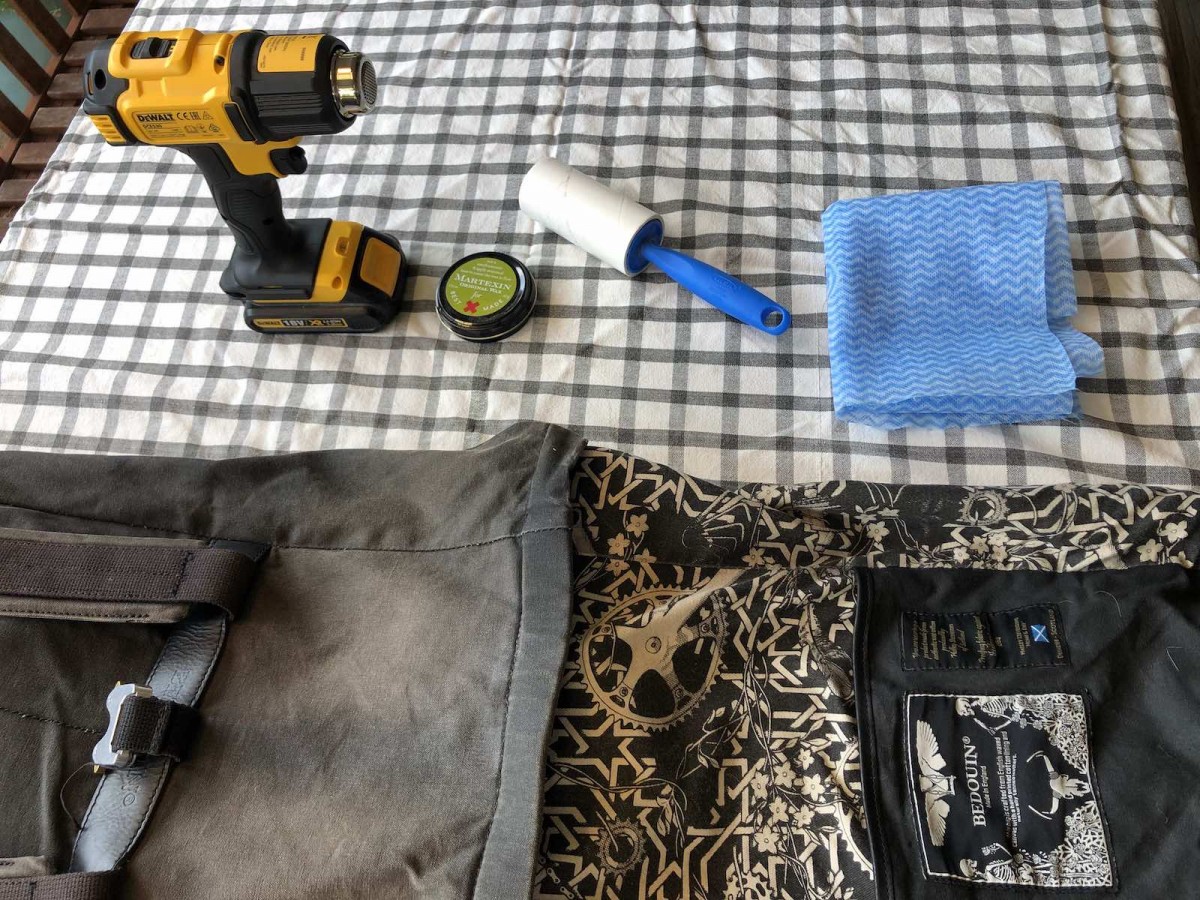
What you'll need
- Heat gun or hair dryer*
- Clean sponge or cloth
- Wax**
- Lint roller or brush
- Clean*** and dry piece of gear made of waxed canvas
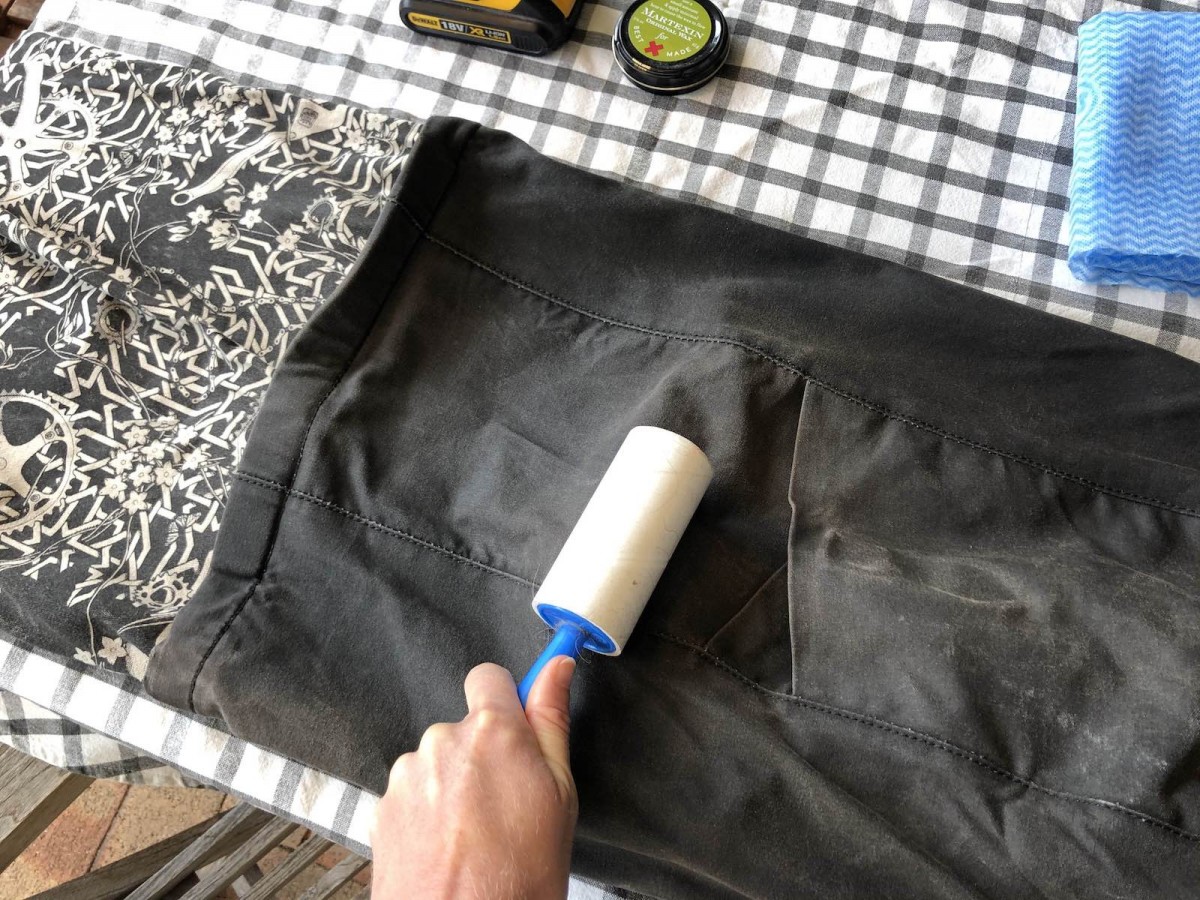
Step 1
Grab your clean and dry piece of gear and lay it out in the best way you can on a clean surface, I used my outside table, and laid down a clean table cloth underneath. I have pulled the liner inside out on my pack so I can also wax the canvas pocket that lines the interior. Run a lint brush or roller over the pack and make sure it is entirely clear of any bits of fluff, or in my case, dog hair.
Step 2
Open up your wax and begin to heat the surface so it goes a little glossy, don’t liquefy it though if you can help it.
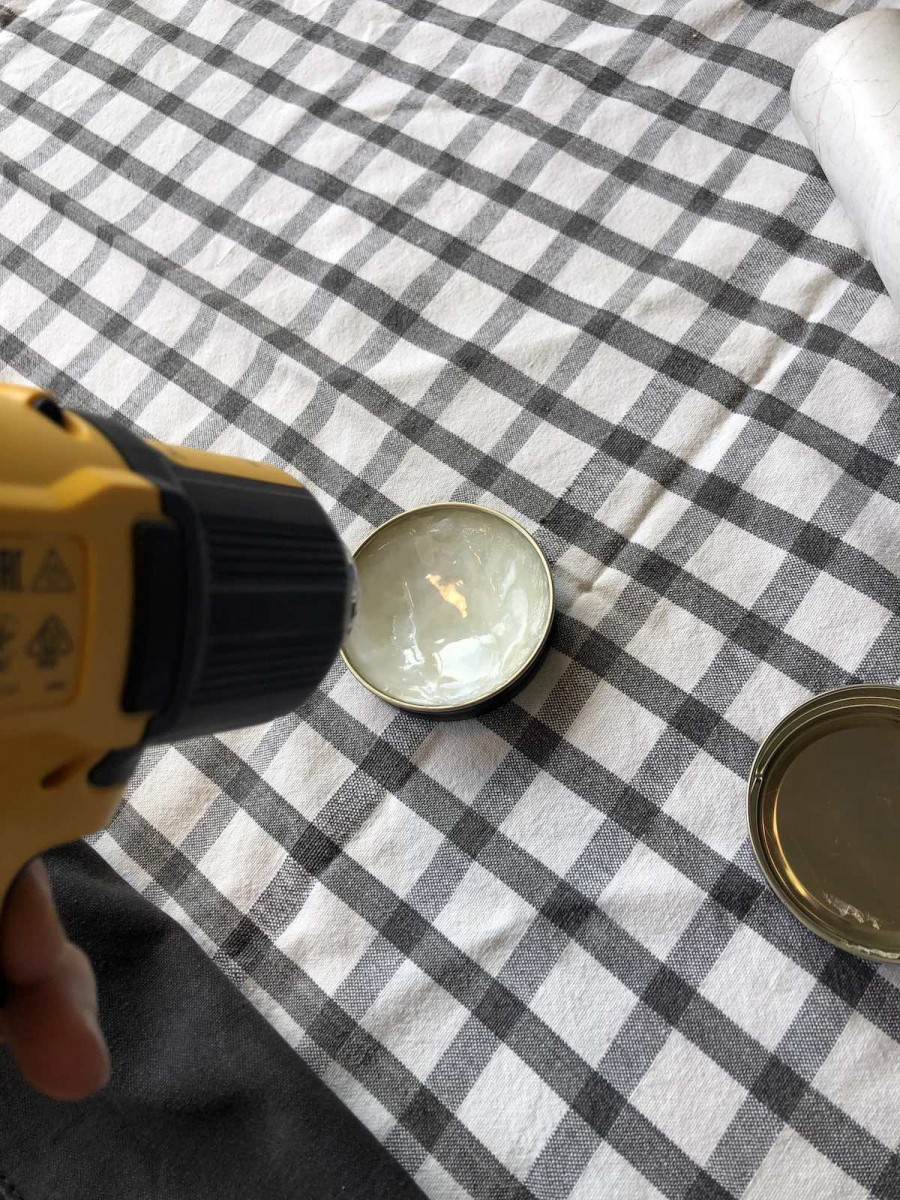
Now start heating the surface of your canvas item with the heat gun or hairdryer (set on low). Use circular motions and keep moving, you don’t want to burn the fabric.
Step 3
Now grab your sponge or cloth and start applying the wax in even strokes across the surface of the fabric. I find it easier at this point to focus on section by section. I start at the top, and apply the whole upper third section in wax, then I move to the next section and begin heating the fabric again, before applying wax. I continue to move down the pack, heating first, the applying wax.
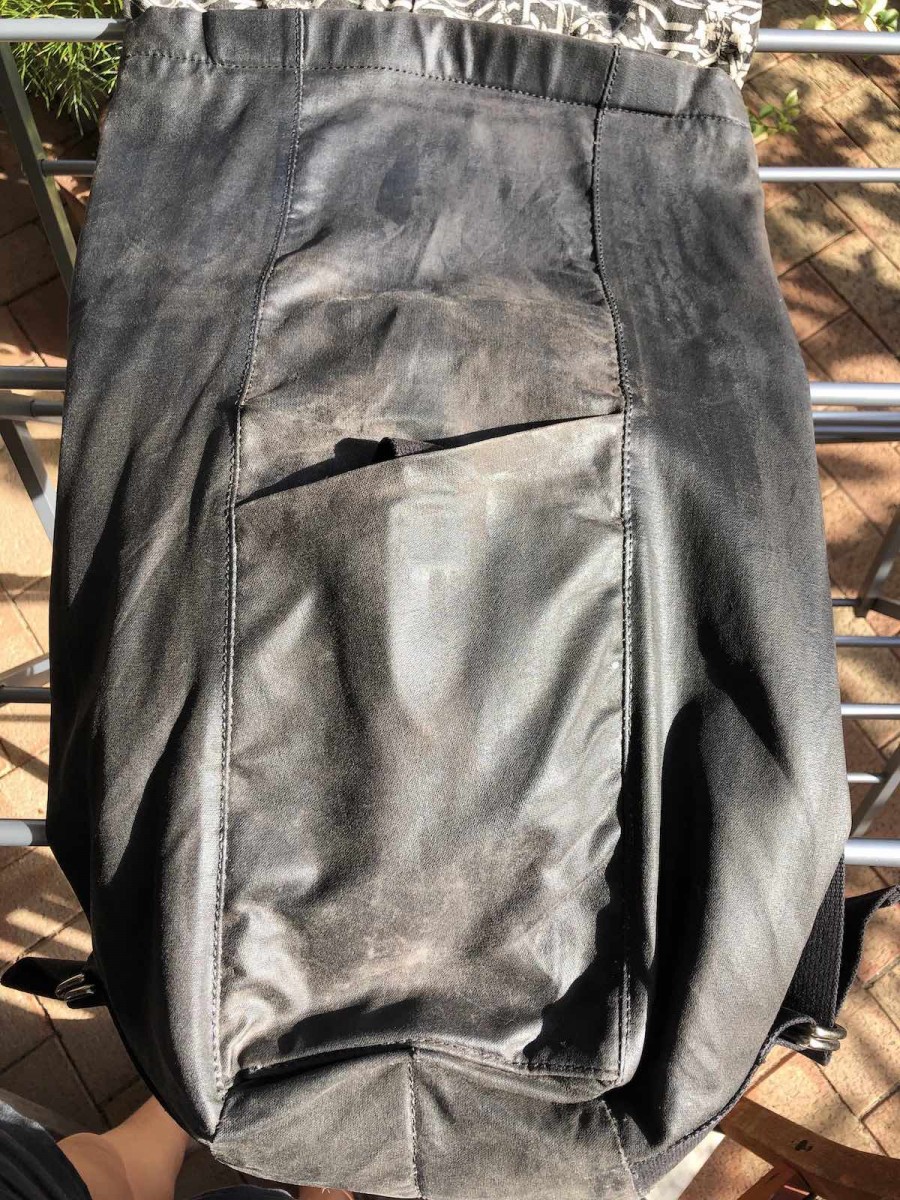
Once the whole pack is coated, it will look a bit messy as you can see.
If you’ve managed to get wax on straps or buckles or anything, don’t worry, a bit more heat and a wipe with the clean end of the cloth will remove it easily.
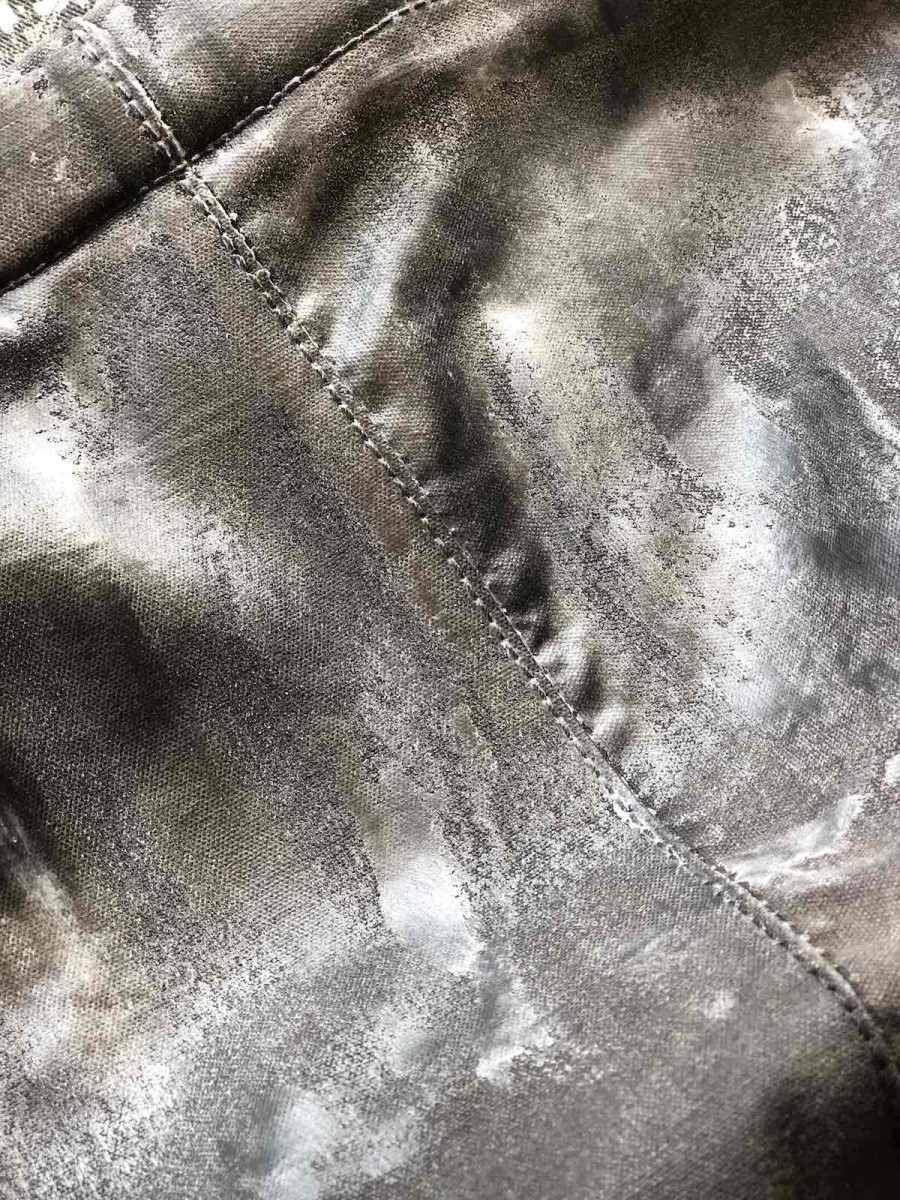
I am using quite a lot of wax as you can see, this is because my pack has been heavily used for the past 5 years - 2 of which were a Melbourne winter, and the poor thing has only been re-waxed once prior. (Very naughty). I focus a lot on the seams as this is where I find will begin to leak first.
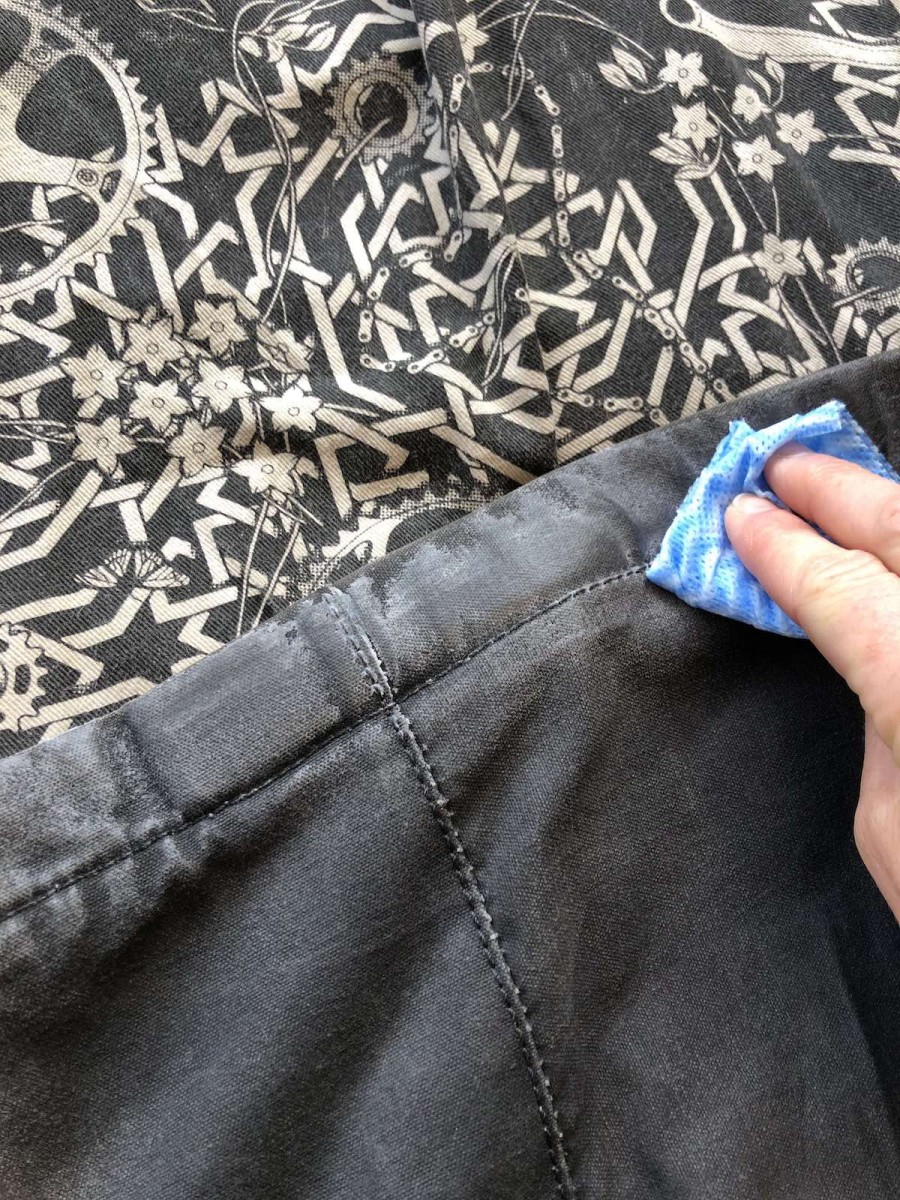
Step 4
Now you need to start rubbing that wax into the fabric. I like to heat and treat at the same time, but if you cannot manage this then take it in turns.
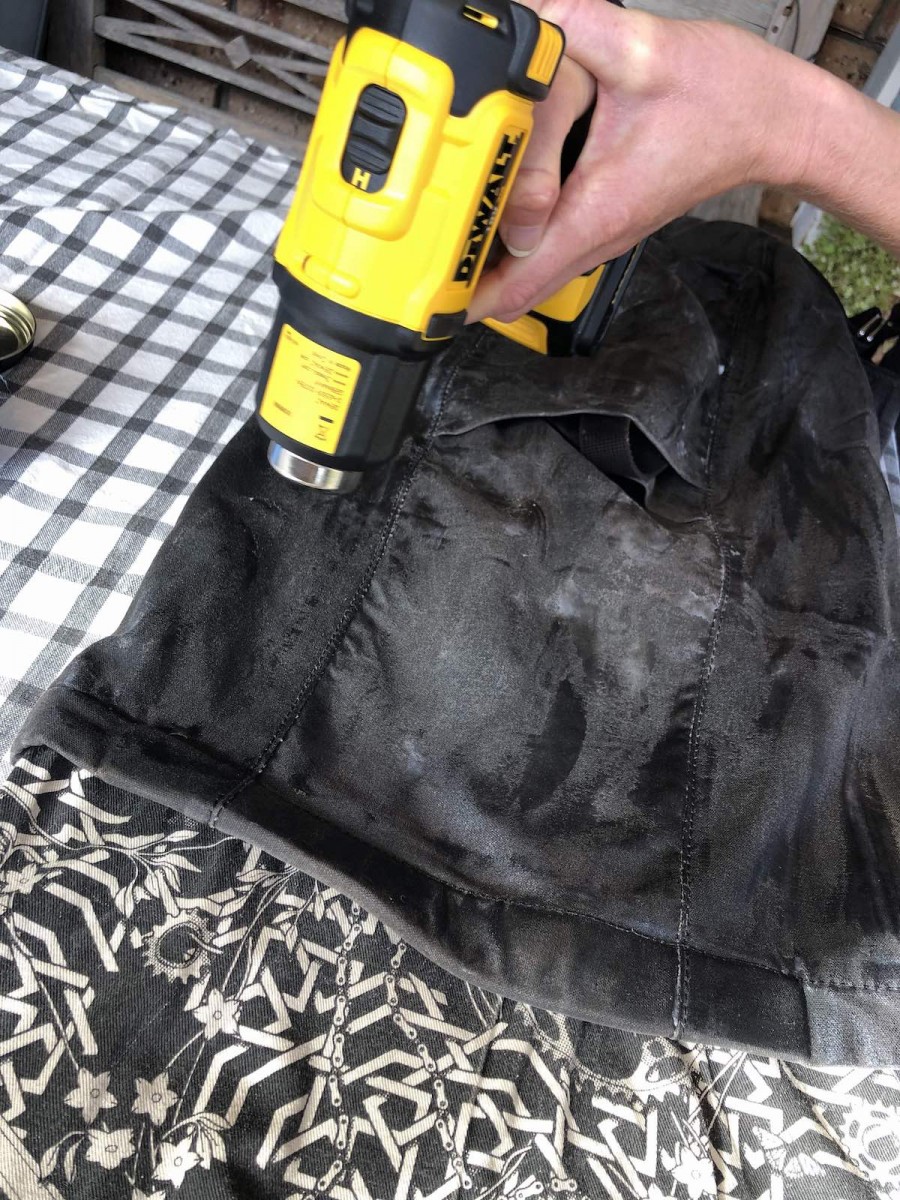
Heat first (circular motions remember!), then rub the wax into the fabric in even strokes with your cloth. Continue to do this until the wax is nicely rubbed in and any excess removed (I often find you’ll see bits stuck in seam lines or strap attachments - especially for packs). You will see the colour of your canvas may have changed and it will now have a sort of sheen to it.
Note that if you have a fairly good amount on your piece of gear already, then you won’t need much to re-wax it. If you are finding you’ve overdone it and there’s a bit too much wax left on the gear- no problem! Just heat and continue to wipe, the excess will rub in or remove itself to the cloth.
Step 5
Once you’re happy with how it is looking, I recommend leaving it out to dry for a day. Some people say 48 hours minimum, however this is Australia, and a day in the sun will probably do it. Try not to fold or crease the item if you can help it, use a coathanger or clothes rack to dry. I would recommend re-waxing your canvas gear yearly depending on use and wax used. Most natural waxes will breakdown over time and will need to be re-applied to remain effective.

*You can pick up a heat gun from Bunnings or craft stores for pretty cheap, alternatively a hair dryer will work too, just make sure for either items that they have a low setting.
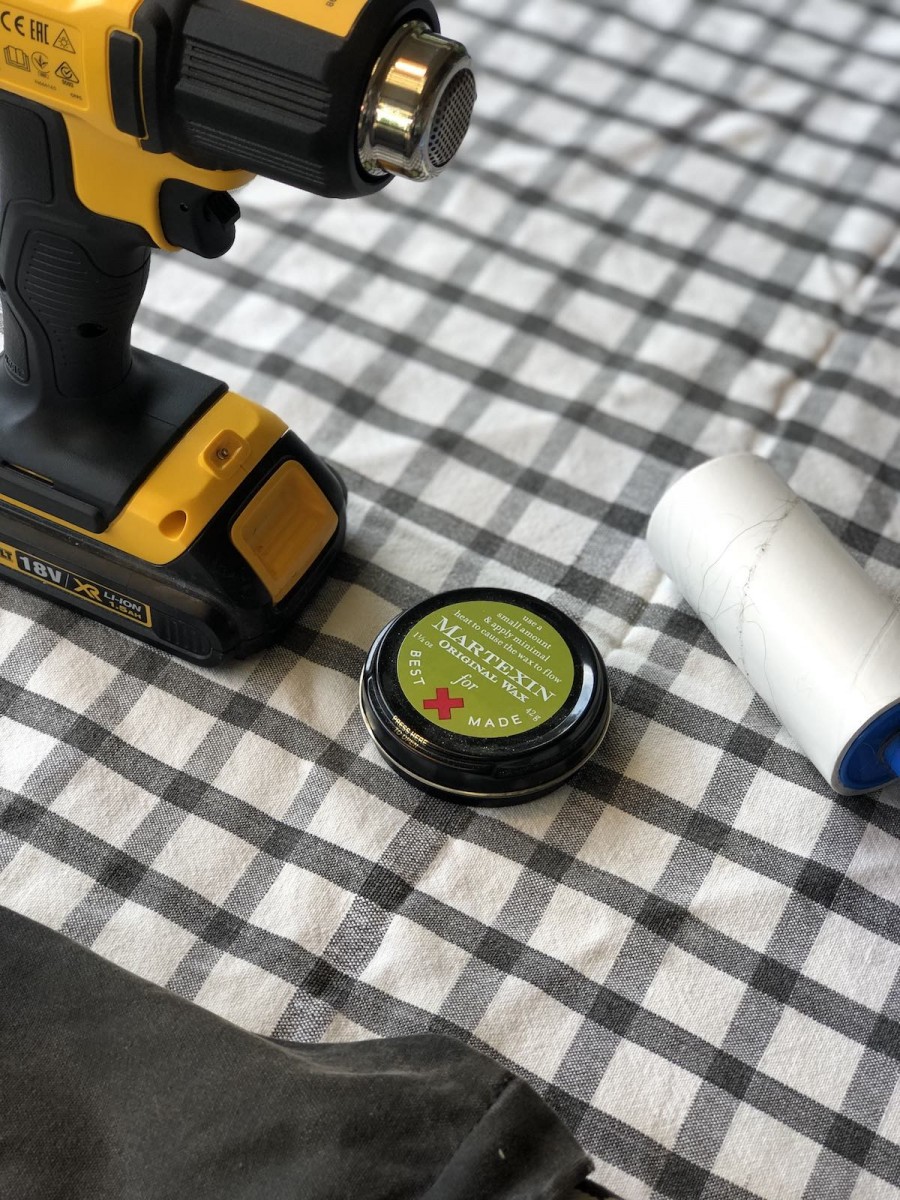
** I am using Martexin Original Wax here but there are many alternatives on the market. Stay away from pure paraffin (candle, petroleum based) wax, you need to use a blend of some sort. You may find that whatever gear you have recommends a particular product - go for what they recommend. Otherwise you can pick up plenty of good options online, i.e. Otter Wax, Fjällräven Greenland Wax, Drizabone, Bedouin. Just for reference, that tiny Martexin tin does almost 2 jackets and 1 daypack - but all waxes are different in the way they spread across fabrics.
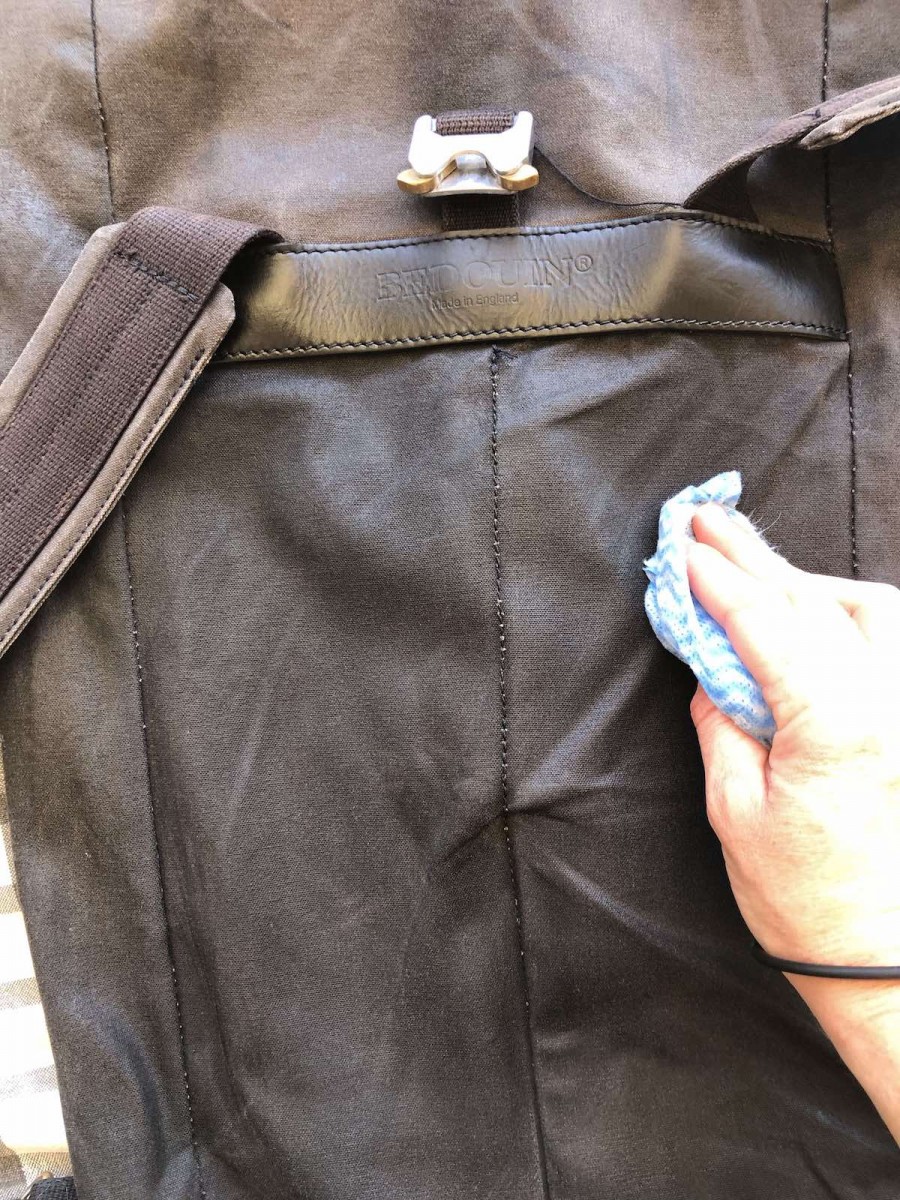
*** You really should never wash waxed canvas with detergents or soaps; mostly all this will do is remove wax from the item. The best you can do is wipe it down with a clean damp cloth or rinse it in cool or tepid water. However… mine was extra filthy, and some of the contents of our picnic two nights ago had spilt in my bag leaching it with the delightful smell or smoked capsicum hummus. So… I have the luxury of being able to turn my liner inside out which is made of plain cotton drill - I hand washed this section only with Dr Bronners soap, then rinsed the soap away completely, before rinsing the entire bag in cool water a few times.
- By Katie Stevens