15 May 2020
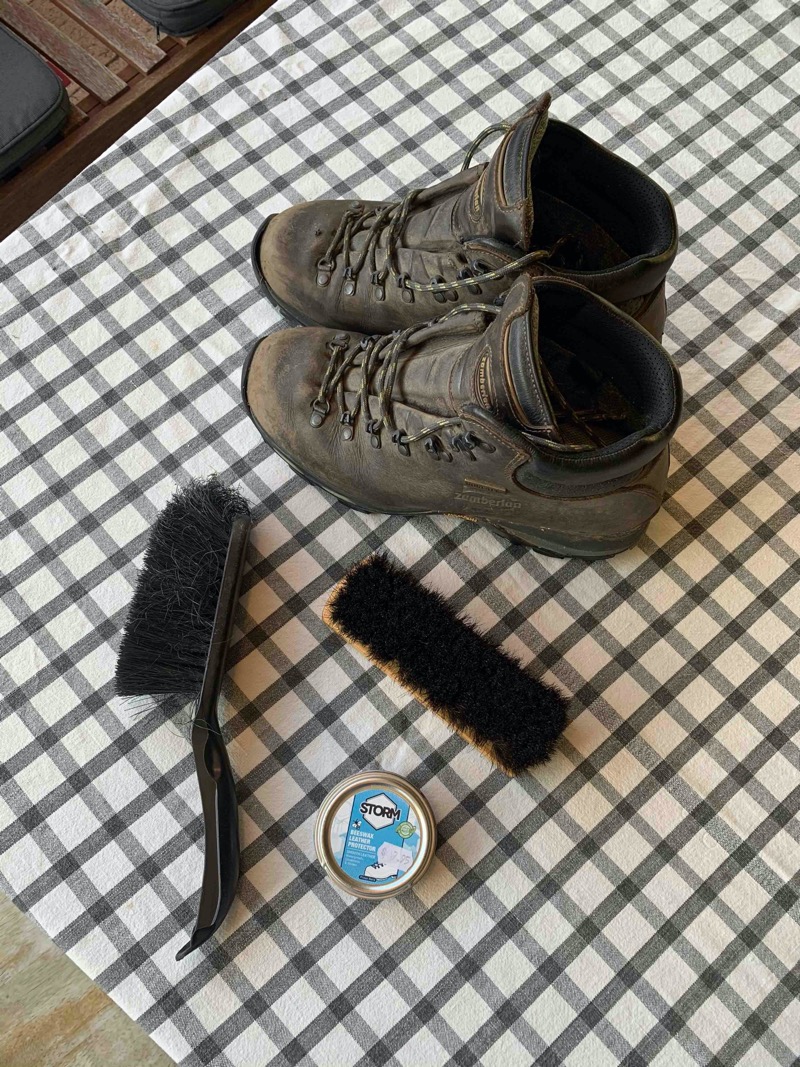
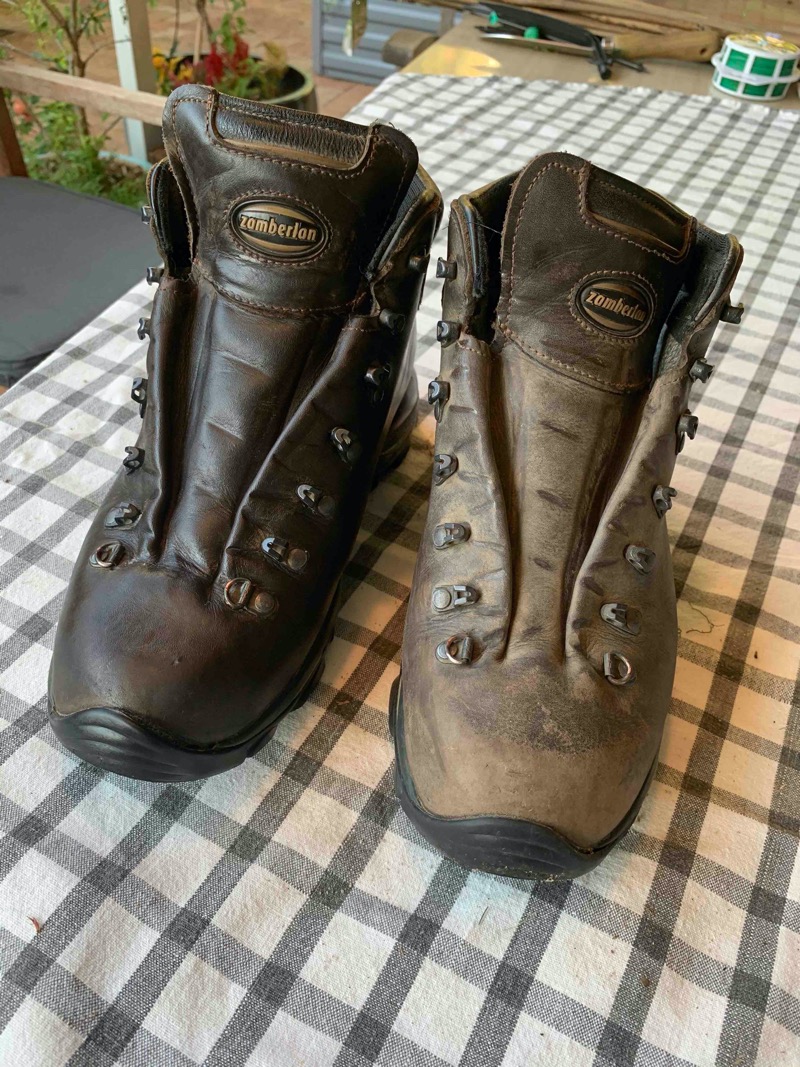
I’ll start with a confession – I do not hike in full-grain leather boots. I purchased these boots (Zamberlan Skill GT) in 2013, and then promptly realized I really didn’t like hiking in them. I do however love them for freezing wet mornings when I take the dog on a short hike, or for car camping adventures when I get to be lazy and not hike - but have warm feet. When it comes to hut-to-hut, roughing it, minimal creature comforts-style hiking - I use trail runners.
Just a few things before we get started. These leather boots are not uncommon in that they are equipped with a Gore-Tex lining, and factory-treated full grain leather outer. The Gore-Tex interior is really the “technical” waterproof part that will unfortunately, but eventually, wear out. The leather exterior is the part that we can maintain and waterproof by conditioning it. Conditioning leather stops it from drying out and cracking and prevents water from soaking through the leather.
What you'll need
- Beeswax or brand recommended wax/conditioner*
- Rag
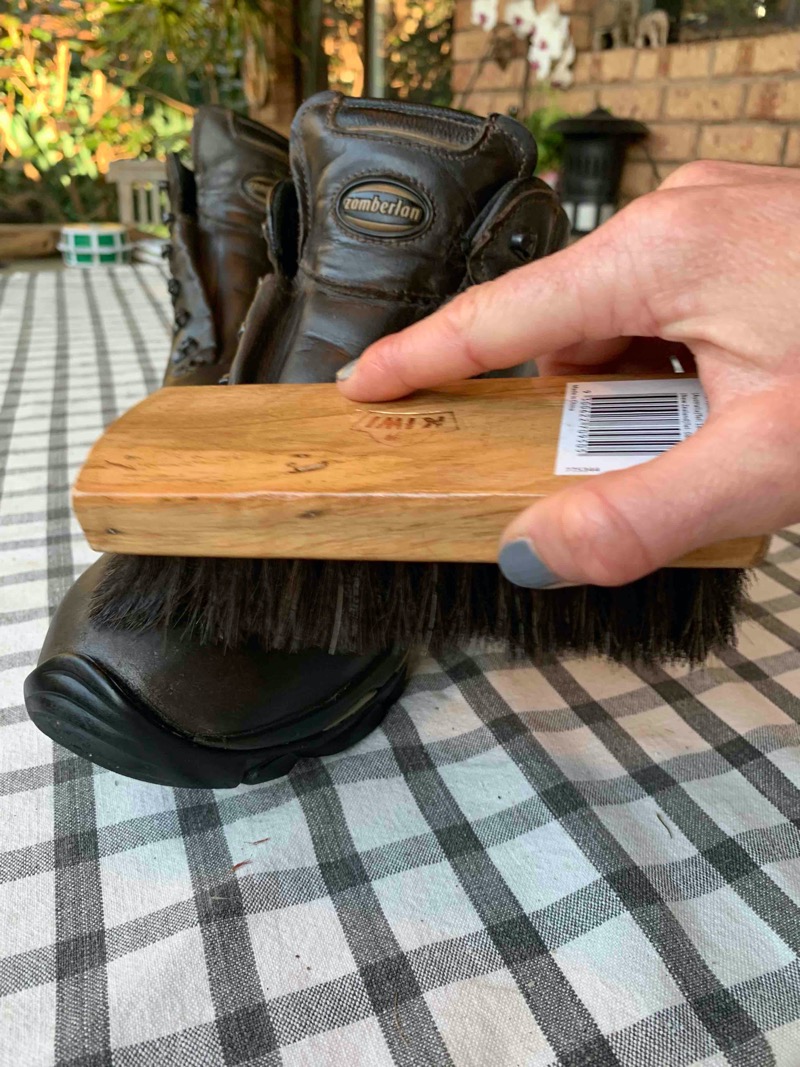
- Shoe brush
- Cleaning apparatus (I used a brush from my dustpan).
Step 1
Clean your boots. You really should be doing this often, especially if they get heavy use in wet and /or muddy conditions. Mine have not lately, so I just gave them a good hard scrub with a dustpan brush.
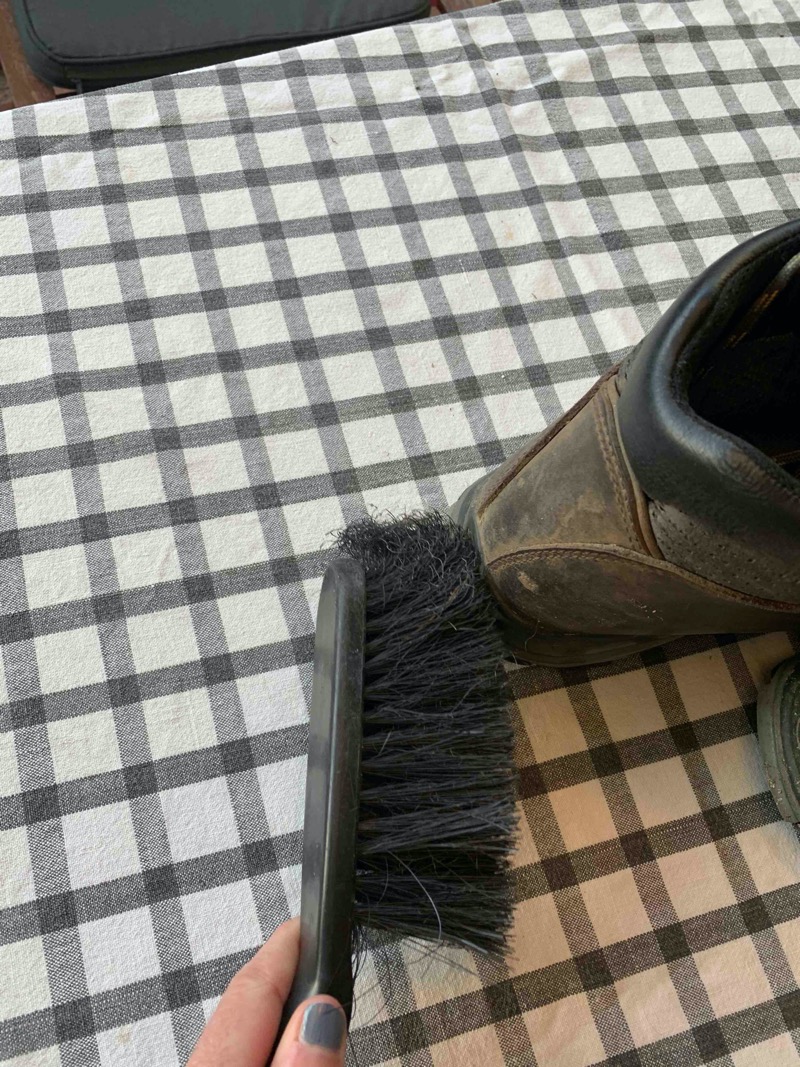
If yours are quite muddy then you can wet them and scrub the muck off. Allow them to dry a bit. (You can apply wax while the boots are wet, but you don’t have to. However, many have proven that it helps the wax to soak in even further – don’t believe me? Google it.)
Step 2
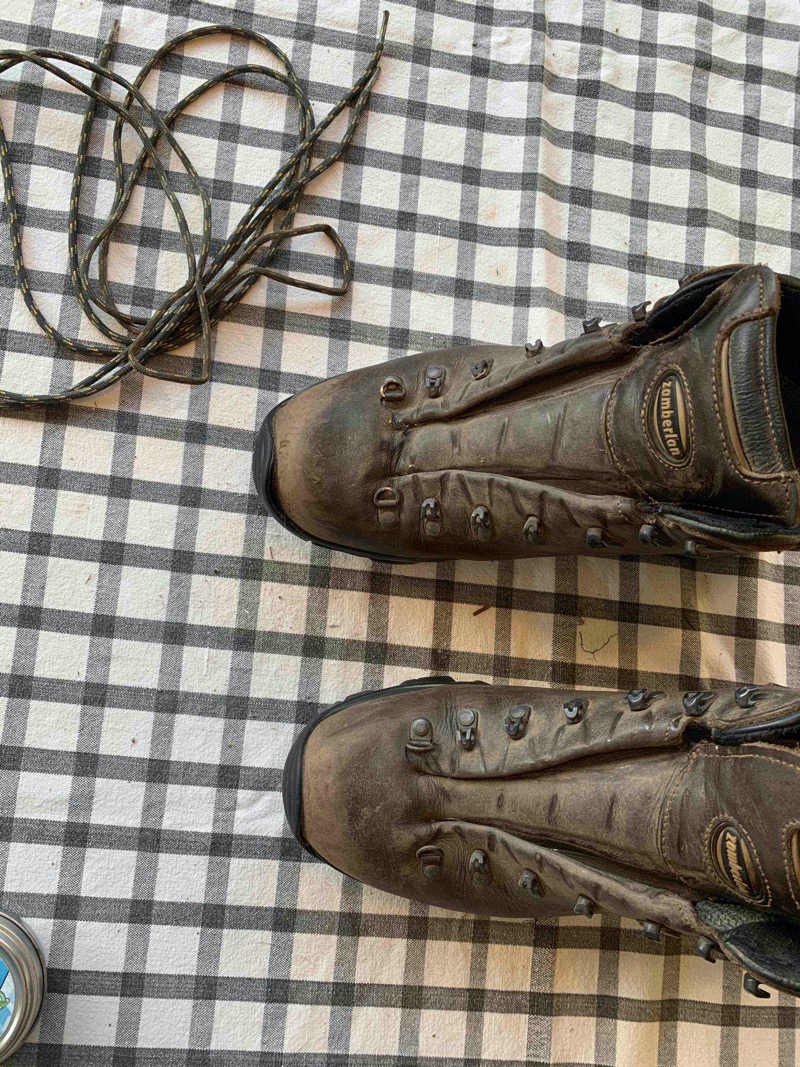
Using your rag, or if you have a conditioner with a built-in applicator, start to apply the wax in even strokes to the boots. I remove my laces first as I don’t want to waste wax on laces, and don’t want sticky laces. I start at the toe and work my way up and around the rivets and tongue then make my way to the sides of the boot. Move on to the second boot.
Step 3
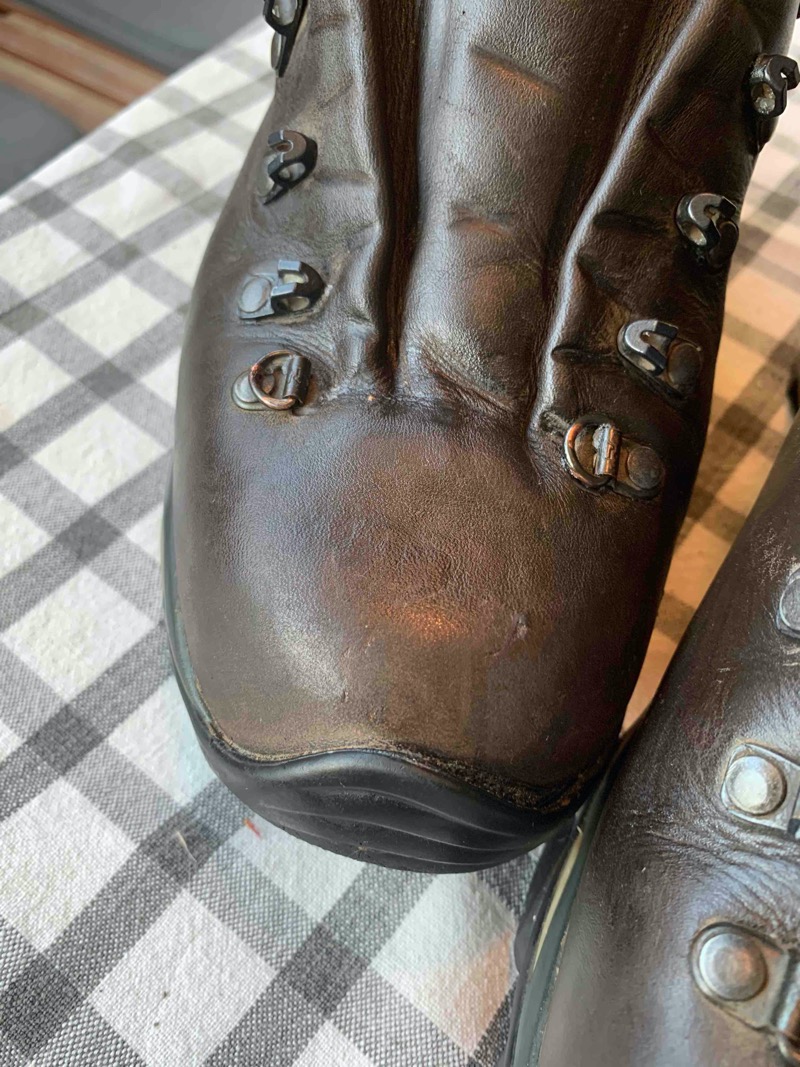
If you have a close look, you may notice (in the toe box especially) that it still looks a bit dry. Your boots will slurp up the wax if they’re quite dry, so apply a little more until they look nice and glossy.
Step 4
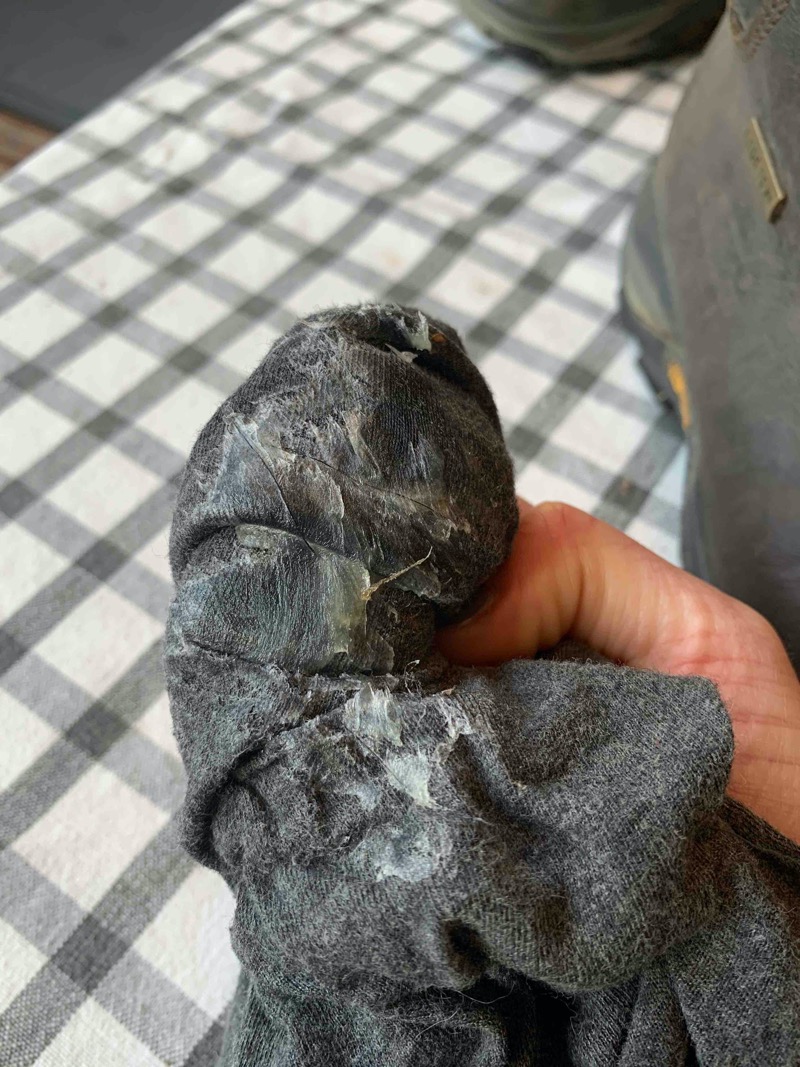
Using your shoe brush, vigorously brush any excess wax off – especially around the rivets. (This step is optional really; you can just use a clean part of the cloth and do the same or leave them as they are).
Step 5
Leave your boots to dry a little and let the wax really sink in. DO NOT leave them in the sun, or in front of a fire or heating device of any kind. This will shrink the leather, if you need to speed the process up then a well-ventilated area with a fan should do the job. Once you’re happy, re-thread your laces and happy hiking!
You’ll know it’s time to re-wax your boots when water starts soaking into them. Again, keep them clean.
Final note on alternative leathers: if your boots are made of nubuck or suede outers you’ll need to be a little more careful with them. Stick to a recommended product or something designed specifically for suede or nubuck leather.
* I am using Storm Leather Footwear Protector, but if your brand recommends a particular product then try to go for that.
By Katie Stevens